
Getting Started Guide
Opening a classroom
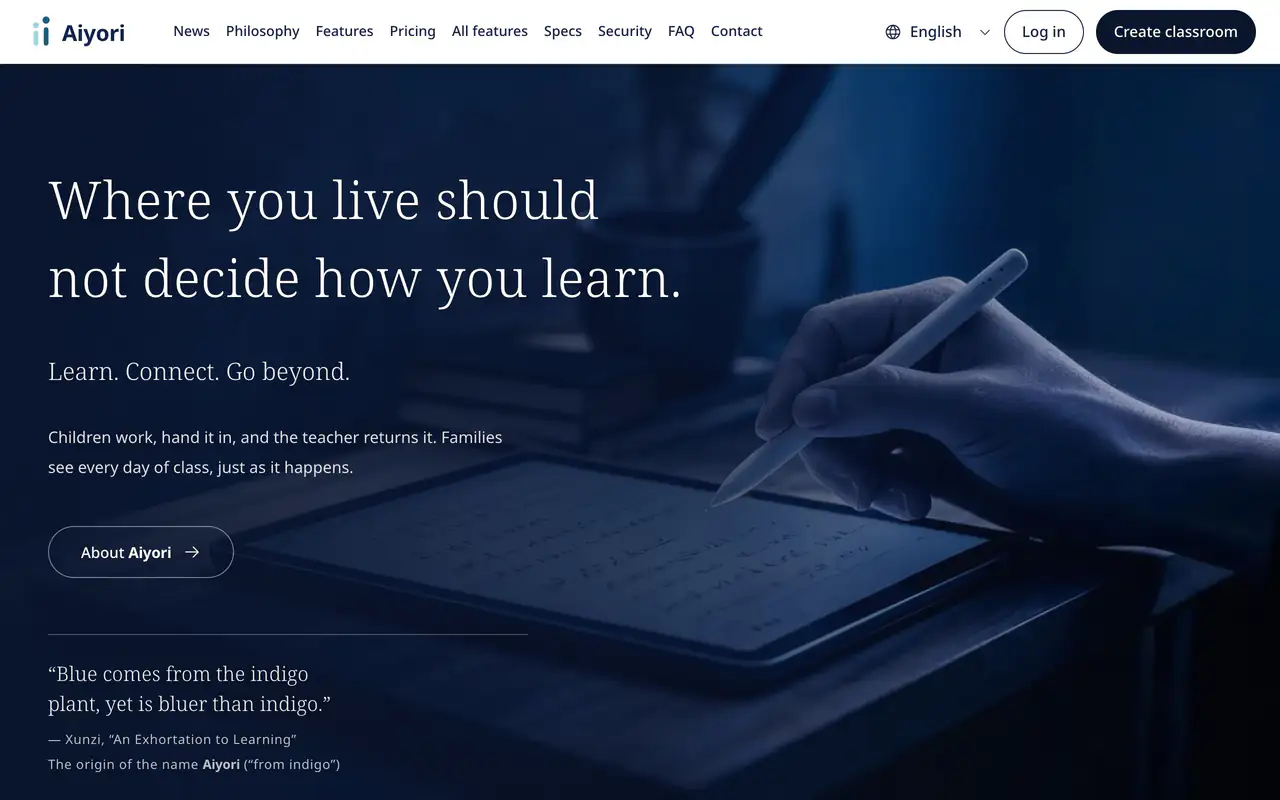
From entering your email address to a classroom that’s ready.
This guide walks through sign-up one slide at a time.
- Step 1
Press “Start free (30 days)” and enter your email address
Press “Start free (30 days)” on this website to open the sign-up screen.
Fill in “Email address” and press “Send code”.- Guardians and students don’t sign up here. Guardians use the invite code from the teacher, and students use the ID from the teacher.
- Step 3
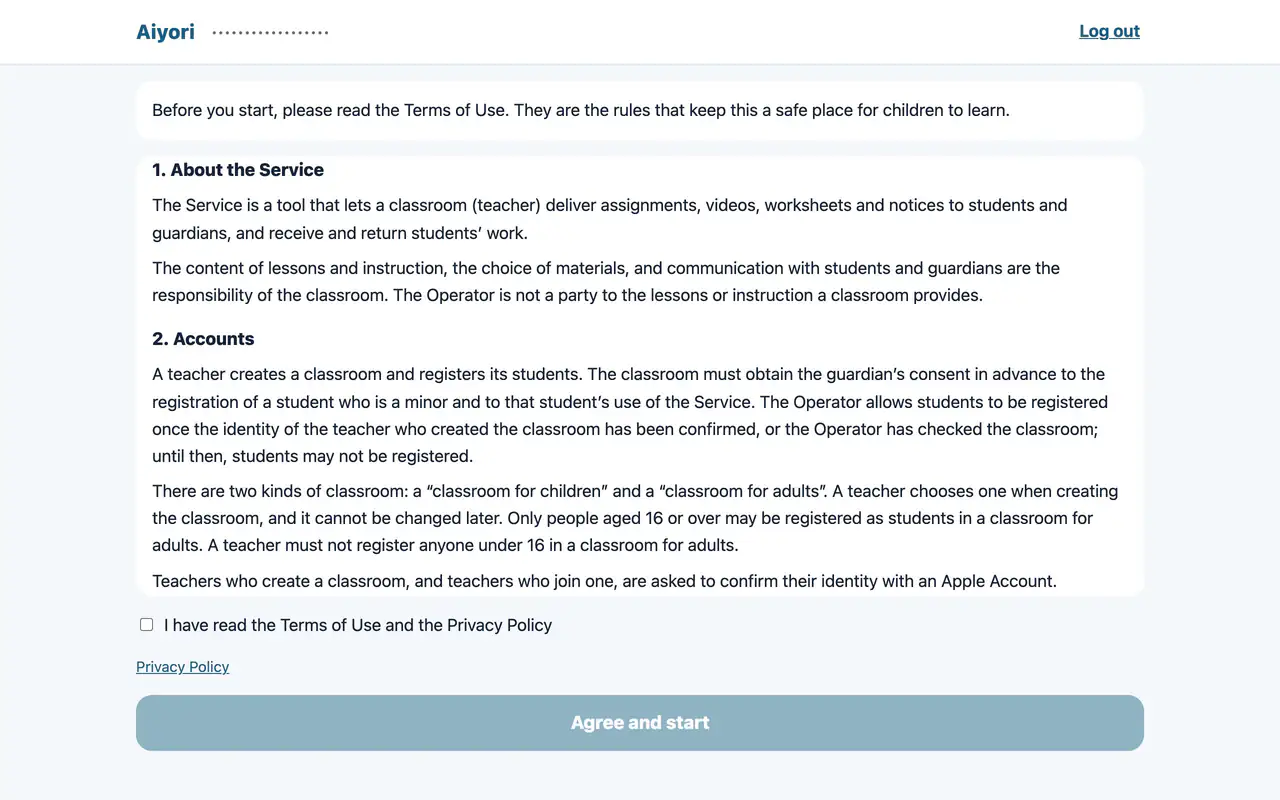
Read the Terms of Use and agree
The full Terms of Use are shown.
When you have read them, tick “I have read the Terms of Use and the Privacy Policy” and press “Agree and start”.- The Terms of Use are the rules that keep this a safe place for children to learn. You can open the Privacy Policy from the same screen.
- Step 4
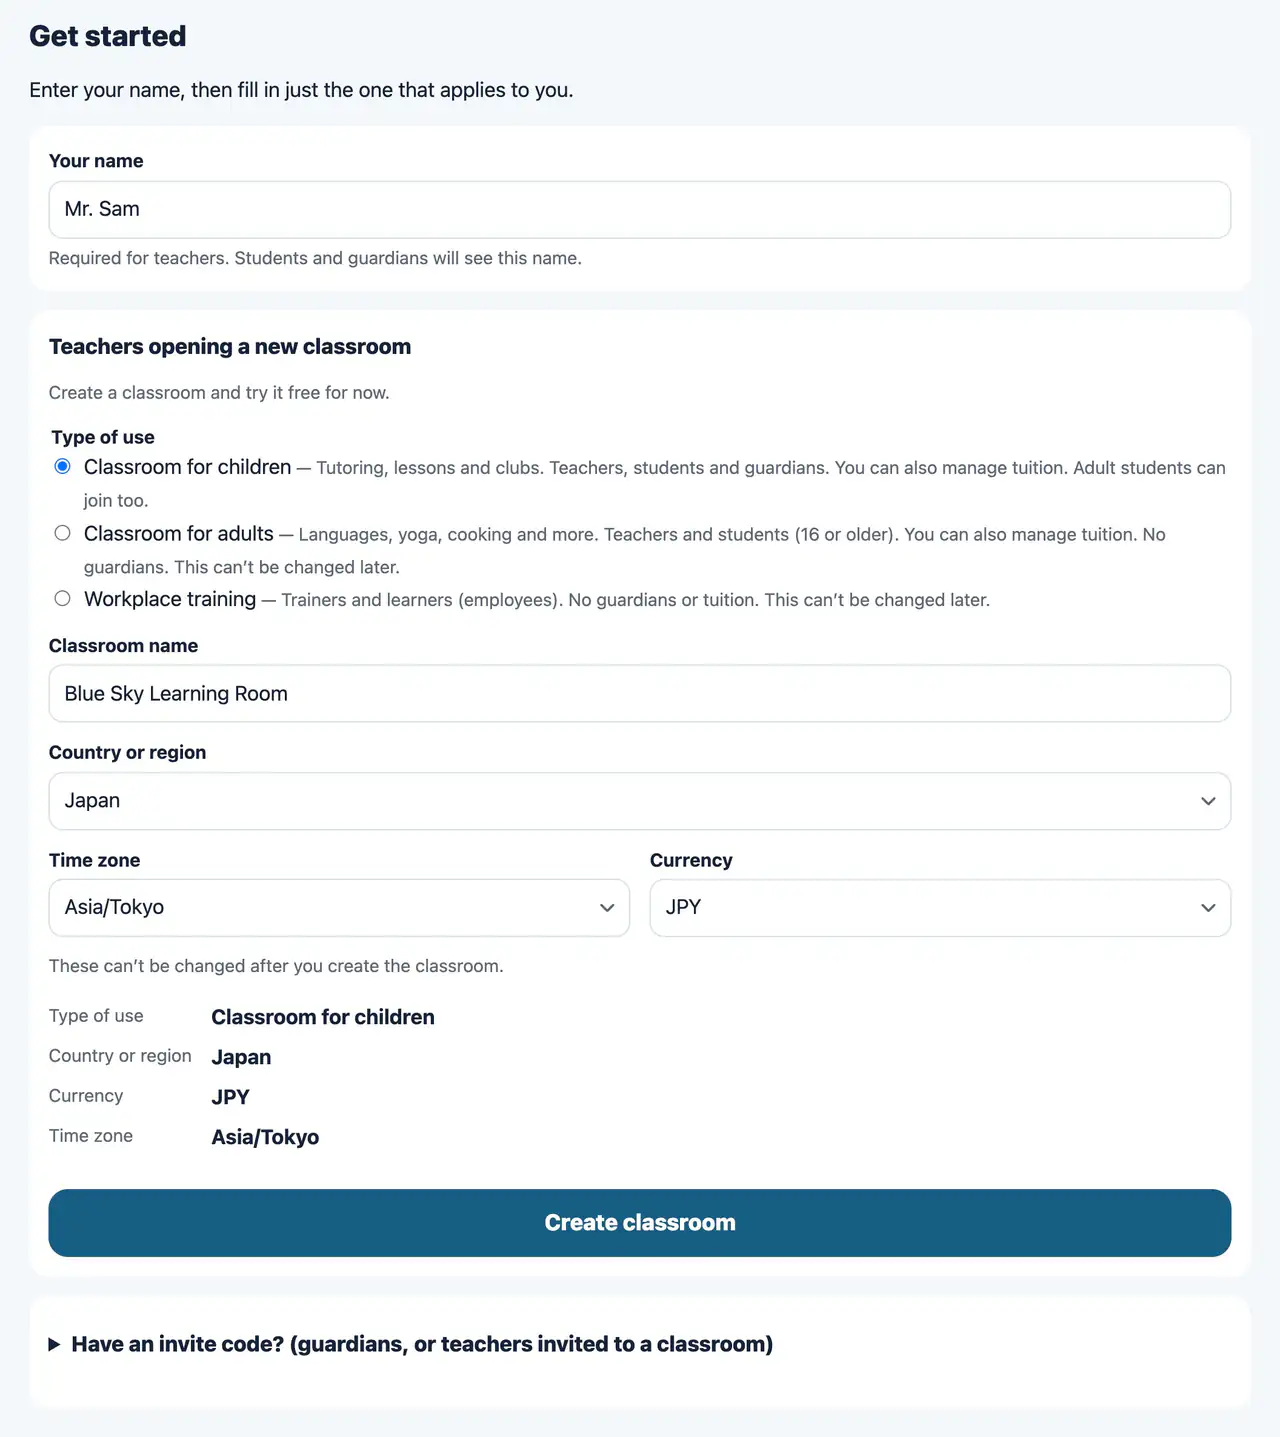
Enter your name and the classroom’s name, and press “Create classroom”
On the “Get started” screen, fill in “Your name”. Students and guardians will see this name.
Under “Type of use”, choose one of “Classroom for children”, “Classroom for adults” and “Workplace training”. Fill in “Classroom name”, check “Country or region”, “Time zone” and “Currency”, and press “Create classroom”.- The type of use, country, currency and time zone can’t be changed after you create the classroom.
- Tutoring and lessons for children use “Classroom for children”. “Classroom for adults” is for students aged 16 or older, with no guardians.
- If you choose “Workplace training”, the field becomes “Company or organization name”. You can press “Create classroom” once you tick the box to accept the “Terms for Workplace Training” and the “Data Processing Agreement” on behalf of your company.
- You are not asked for a payment method on this screen.
- When your classroom is ready
Follow “Getting started”
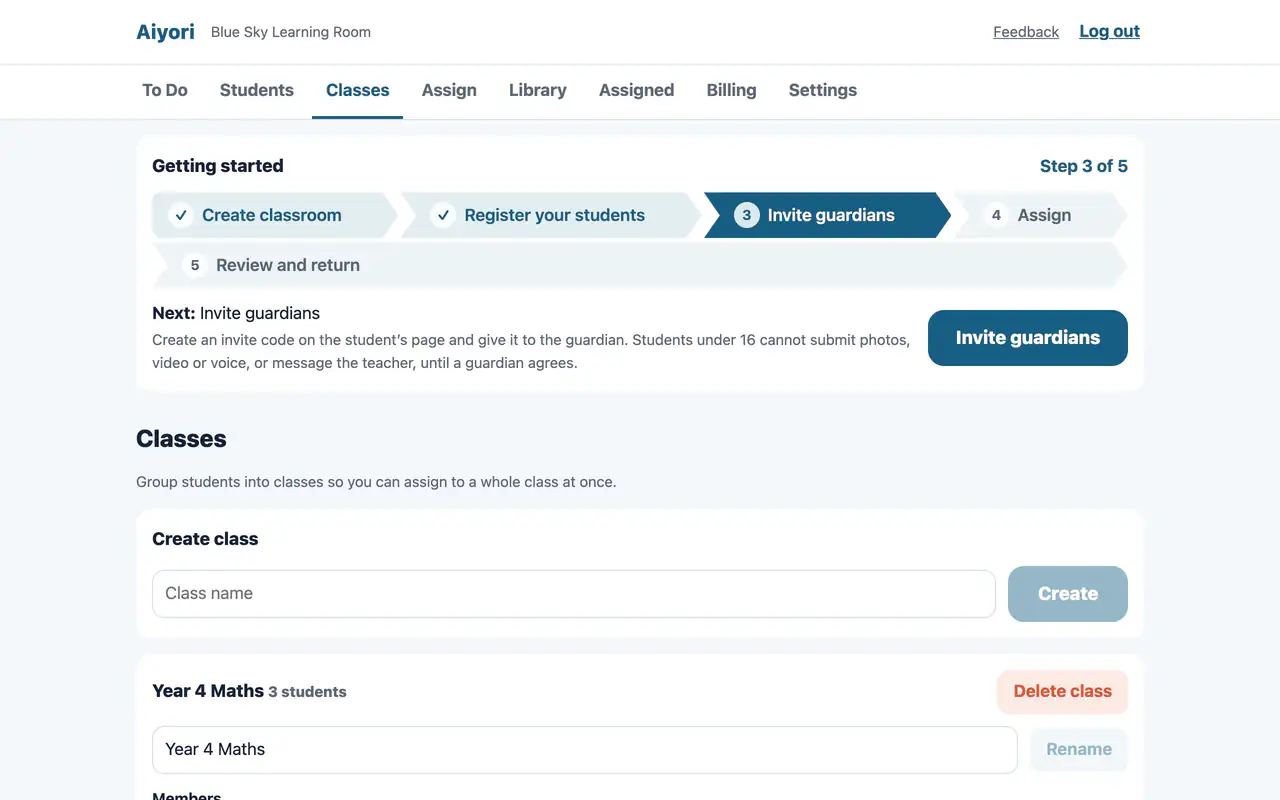
Once the classroom is ready, “Getting started” appears at the top of the teacher’s screen.
It shows what to do next and a button for it, so you can go one step at a time.- “Register your students”: Registering shows a classroom code, an ID and a PIN. Give these three to the student so they can log in.
- “Invite guardians”: in a “Classroom for children”, create an “Invite code” on the student’s page and give it to the guardian. Each code can be used once, within 14 days.
- “Hand out assignments, videos and notices”: what you hand out appears on the student’s screen. Submissions collect in the teacher’s to-do list.
- For details, see Getting started in the user manual.
Back to the User guide